 Back to Blog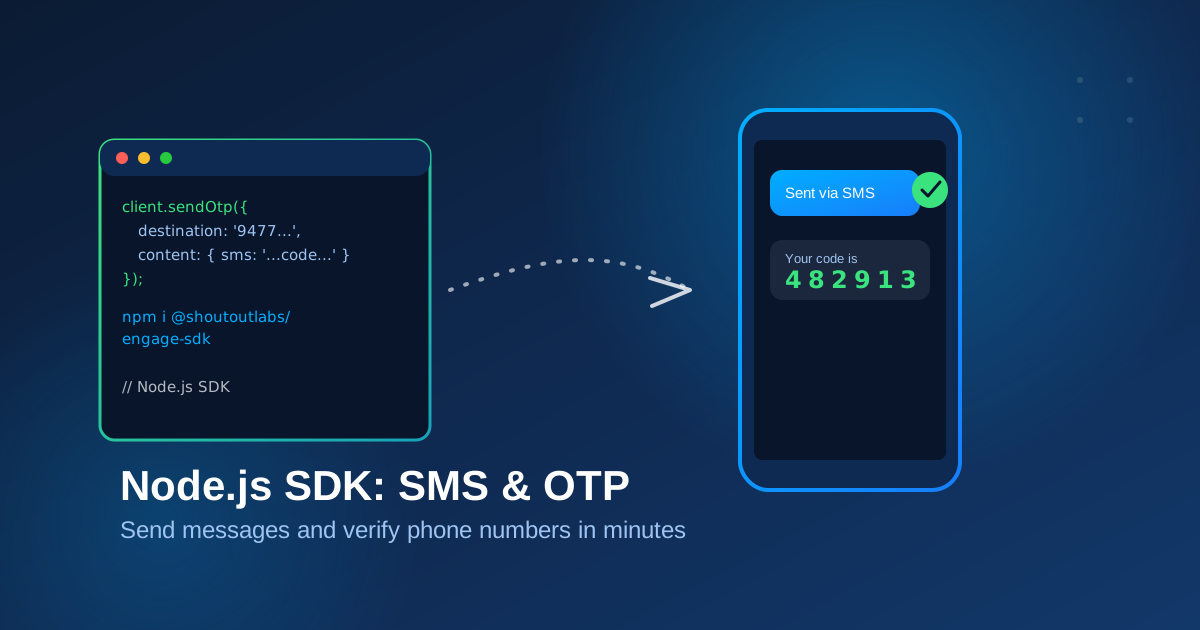
If you’re building a Node.js app that needs to send SMS notifications or verify a user’s phone number with a one-time password, you don’t need to hand-roll HTTP calls against a messaging API. ShoutOUT Engage publishes an official Node.js client, @shoutoutlabs/engage-sdk, that wraps both the SMS and OTP endpoints behind a small, callback-based interface.
What is the ShoutOUT Engage Node.js SDK?
@shoutoutlabs/engage-sdk is the official Node.js client for ShoutOUT Engage’s messaging APIs. It handles authentication, request formatting, and error handling for you, exposing a handful of methods: sendMessage for direct SMS, sendPriorityMessage for time-sensitive sends, and sendOtp / verifyOtp for phone verification flows. It’s a thin wrapper over axios, so it works in any standard Node.js backend without extra runtime dependencies to worry about.
Installing the SDK
Install it with npm like any other package:
npm install @shoutoutlabs/engage-sdk --saveThe package requires Node.js 4.x or later, so it’ll work in essentially any current backend environment.
Configuring the client
Every request needs an API key, which you generate from the ShoutOUT Dashboard under Developer > API Keys (make sure it has the message:send scope for sending messages and OTPs). Create the client once and reuse it across your app:
var ShoutoutClient = require('@shoutoutlabs/engage-sdk');

var apiKey = 'XXXXXXXXX.XXXXXXXXX.XXXXXXXXX';
var debug = true, verifySSL = false;

var client = new ShoutoutClient(apiKey, debug, verifySSL);
Keep the API key out of source control, an environment variable is the usual approach:
var client = new ShoutoutClient(process.env.SHOUTOUT_API_KEY, false, true);Sending an SMS
sendMessage posts to the Direct Message API and accepts a source (your Sender ID), one or more destination numbers, and message content:
var message = {
    source: 'ShoutDEMO',
    destinations: ['94777123456'],
    content: {
        sms: 'Sent via SMS Gateway'
    },
    transports: ['sms']
};

client.sendMessage(message, (error, result) => {
    if (error) {
        console.error('error ', error);
    } else {
        console.log('result ', result);
        // result.cost is a decimal string, e.g. "2.00"
        // result.responses[0].reference_id can be used to look up delivery status
    }
});
A successful response includes a cost (a decimal string, not a number) and a responses array with a reference_id per destination, which you can use later to check delivery status.
Sending with a saved template
If you already have a message template set up in the dashboard, skip re-writing the content in every call by using templateId with customAttributes for placeholder substitution:
var message = {
    source: 'ShoutDEMO',
    destinations: ['94777123456'],
    templateId: '8a3c1f2b-4d9e-4c3a-b1f2-9e8d7c6b5a4e',
    customAttributes: {
        name: 'Kasun',
        order_id: 'ORD-4821'
    },
    transports: ['sms']
};

client.sendMessage(message, (error, result) => {
    if (error) console.error('error ', error);
    else console.log('result ', result);
});
content and templateId are mutually exclusive, use one or the other.
Sending with priority
For time-sensitive messages, sendPriorityMessage queues the send ahead of normal transactional traffic for a small additional per-destination surcharge:
var message = {
    source: 'ShoutDEMO',
    destinations: ['94777123456'],
    content: {
        sms: 'Your appointment is in 30 minutes'
    },
    transports: ['sms']
};

client.sendPriorityMessage(message, (error, result) => {
    if (error) console.error('error ', error);
    else console.log('result ', result);
});
Sending and verifying an OTP
The OTP flow is a two-step handshake: send a code, then verify what the user typed back.
1. Send the OTP
content.sms must include the {{code}} placeholder, the SDK substitutes it with the generated code before sending:
var otpRequest = {
    source: 'ShoutDEMO',
    destination: '94777123456',
    content: {
        sms: 'Your verification code is {{code}}'
    },
    transport: 'sms'
};

client.sendOtp(otpRequest, (error, result) => {
    if (error) {
        console.error('error ', error);
    } else {
        console.log('result ', result);
        // result.referenceId is required to verify the OTP later
    }
});
The response includes a referenceId, save it (in session state, a short-lived cache, or your database) since you’ll need it for the verify step.
2. Verify the code
Once the user enters the code they received, verify it against the referenceId from the send step:
var verifyRequest = {
    code: '12345',
    referenceId: 'a3f1c2b4-9e87-4c3a-b1f2-9e8d7c6b5a4e'
};

client.verifyOtp(verifyRequest, (error, result) => {
    if (error) {
        console.error('error ', error);
    } else {
        console.log('result ', result);
        // result.valid indicates whether the code was correct
    }
});
An important detail: an incorrect code is still a 200 response with valid: false, not an error object. Check result.valid explicitly rather than only handling the error callback.
Rate limits to plan around
The underlying OTP API enforces limits per source IP: 10 send requests per second, and 100 verify requests per minute globally. If you exceed either, you’ll get an HTTP 429 with an errorCode of RATE_LIMIT_EXCEEDED. Build a short back-off into your retry logic rather than hammering the endpoint on failure, this also doubles as protection against SMS flooding and OTP enumeration attempts against your own app.
Putting it together: a phone verification endpoint
A typical Express route pairing looks like this:
app.post('/api/send-code', (req, res) => {
    client.sendOtp({
        source: 'ShoutDEMO',
        destination: req.body.phone,
        content: { sms: 'Your verification code is {{code}}' },
        transport: 'sms'
    }, (error, result) => {
        if (error) return res.status(502).json({ error: 'Could not send code' });
        // Store result.referenceId against the user/session for the verify step
        res.json({ referenceId: result.referenceId });
    });
});

app.post('/api/verify-code', (req, res) => {
    client.verifyOtp({
        code: req.body.code,
        referenceId: req.body.referenceId
    }, (error, result) => {
        if (error) return res.status(502).json({ error: 'Verification failed' });
        res.json({ valid: result.valid });
    });
});
That’s a full, working phone-verification flow in about twenty lines, no need to hand-write the HTTP layer, auth headers, or error shapes yourself.
FAQ
What package do I install for the Node.js SDK?
@shoutoutlabs/engage-sdk, installed via npm install @shoutoutlabs/engage-sdk --save. Note that this replaces the older shoutout-sdk package name, which is no longer updated.
What Node.js version does it require?
Node.js 4.x or later, so any actively maintained runtime works.
Do I need separate API keys for SMS and OTP?
No. Both sendMessage/sendPriorityMessage and sendOtp/verifyOtp authenticate with the same API key via configureMessagesApiKey internally, as long as the key has the message:send scope.
Is a failed OTP verification treated as an error?
No. An invalid code returns a normal 200 response with valid: false, it’s not surfaced through the error callback. Always check result.valid.
What are the OTP API’s rate limits?
10 send requests per second per source IP, and 100 verify requests per minute globally. Exceeding either returns HTTP 429 with errorCode: "RATE_LIMIT_EXCEEDED".
Can I use a message template instead of raw content for SMS?
Yes. Pass templateId plus a customAttributes object instead of content, and the SDK substitutes {{placeholder}} values from your saved template. content and templateId can’t be used together.




 Capterra
 Software Advice
 G2 Crowd
 Gartner